Showing posts with label vintage hairstyles. Show all posts

Wednesday, 2 April 2014

A bit of this and a bit of that...

http://luckylucille.com/2014/03/sew-for-victory-2-0/
 
Hullo All!
I can finally announce my Sew for Victory projects- hurrah!
It took me a while to decide on the 'prefect' project because somehow I managed to lose all my 'good ideas'. Actually, it put me out quite a bit as I'm never without inspiration- I always have far too much, so to have none at all was a bit distressing to say the least. For a couple of weeks I knew what it was like to not be creative.... and I can tell you I absolutely hated it!
 
 
The pattern I have chosen is a " gulpy, gulp - can I do it ? " pattern, and one I originally thought Mammy would be making up for me instead (for obvious reasons- just look at the picture below!). It was chosen in desperation as nothing else looked tempting at the time. The pattern beguiled me when I was at a low, and now I’m well and truly trapped into making it. I’m doomed, with no chance of release until completion! A bit dramatic? Well, if you knew of the trouble it has caused, even before starting to sew the darn pattern, you would think otherwise. To put it simply, the bodice just didn’t fit. So Mammy, the magic sewing fairy, worked wonders on the pattern by doing all sorts and now I have a usable pattern- three cheers for Mammy!
The fabric I have chosen is from the stash, and had been earmarked for this dress for some time. I just hope that the blue doesn't drain what little colour I have!
 

 Oooh, such pretty details!  I'm really not looking forward to all that top stitching- eek!

I have also decided to make a pair of knick-knacks. I started work on these last week after having a 'lightbulb' moment. I'm not going to say what I'm doing, but I personally think it's genius if a little ridiculous! I'm keeping my fingers crossed that it works, and I hoping the trouble I had with the waist fitting is the only trouble I will encounter on this make!

 
And in other news, I have started yet another knitting project...
 (well I do like to have at least five unfinished projects around me!)

 
...The rather wonderfully named " Victory 'Wonder-Sock' ".
They are going to be a real labour of love as they are knitted on teeny tiny size 14 needles- oh 'eck!
Apparently they are the perfect gift, but all a I can say is that the receiver would also have to be the perfect chap. There is no way I would knit these and give them away to just any Tom, Dick or Harry!
 
Oh and I nearly forgot…


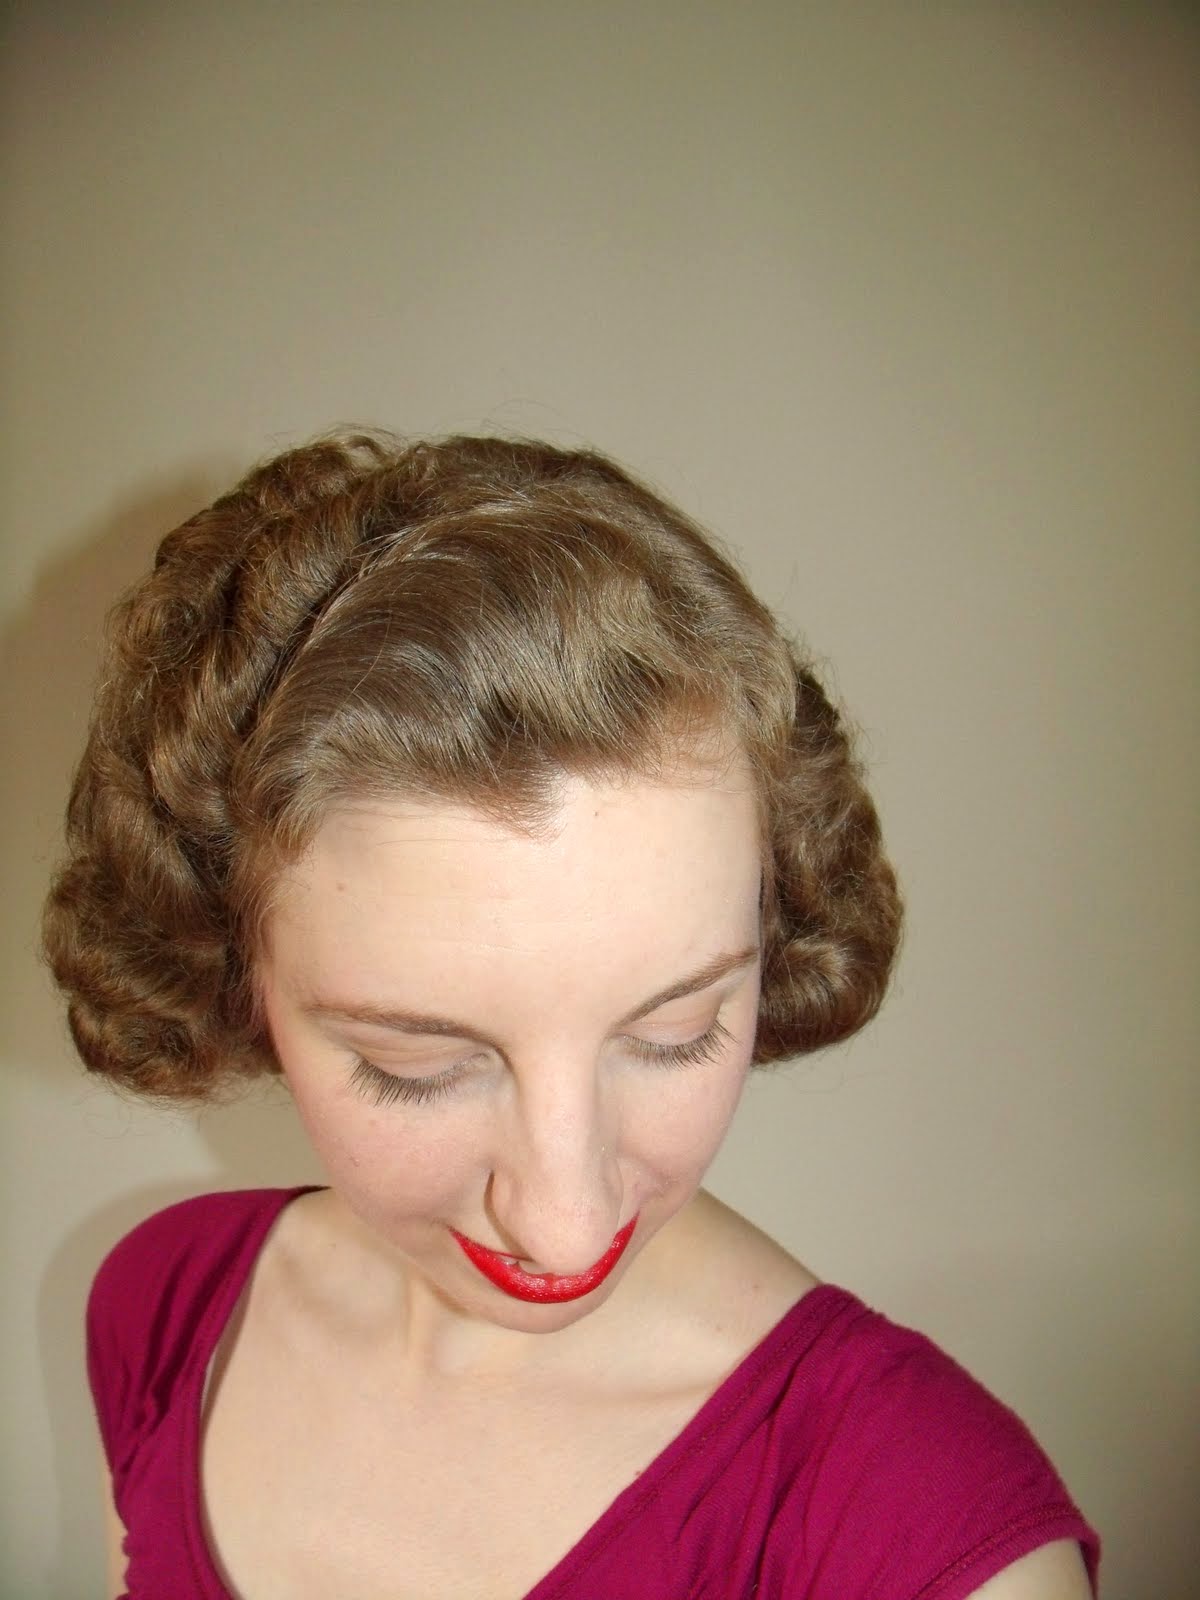
About three weeks ago, I had my hair permed again. :) It’s still at the past the shoulder length, but recently I was able to get a shorter style. I even tried out a few finger waves. I usually create waves by pincurls, but this time I pressed and pinned in the waves on soggy hair- I think it worked a treat for a first attempt! 
 
 
So there ye go.
I shall try my hardest to be a better blogger this month....
 
Your
Tupney
xxx


Wednesday, 6 February 2013

Simple Curly Top for Long Hair.


Just to let you all know, this is my first proper attempt at a pin curl set in about 7 years- so things are far from perfect! Obviously I can't guarantee that this will work for everybody, as all hair reacts differently, but it still may be of some interest and it certainly can be used as a basic set to build on.
 
***


For this set, two methods of pin curls were used-
1. Flat  pin curls
2. Barrel/ stand up curls.


The equipment you will need...
hair pins, a comb/ brush, setting lotion, a head of hair, lots of patience and fingers. I also used a 'hold bob' to create the pin curls because I'm rubbish at doing them around my fingers.( though a mascara tube would work just as well!)

For best results work on washed hair and be sure to dry it a little with a towel first -not too much though, otherwise your set won't last and your waves/curls will be... well, not very wavy or curly!!!


The Sections:
This set was done in four sections/ parts.
1. The top (parted on the left), 2 & 3. the sides (crown to ear) and
4. The back
 
***
 
The Top Section
 
First, section off the top part. Each section should be sprayed with setting lotion and combed through thoroughly.
 
Then make two rows of three barrel/ stand up curls, making sure they are even and rolled towards your side parting- (I used about an inch of hair in each curl for this top bit)


The Side Sections
 
Each side section is worked the same way and consist of 2 rows, with 3 flat pin curls in each row. The section should be parted from the crown to your ear.


 The Back Section


To work the back-
First row- Make as many flat pin curls from ear to ear as possible- rolling towards the right ear. (I can't quite remember how many pin curls I made, but they were largish in size!)
The second row should be rolled towards the left ear.
The third, curl to the right again.


As you can see, these pin curls are not perfect and rather large. I would thoroughly recommend that you try smaller pin curls for better result. If you would prefer a more defined curl, I would suggest doing this section with barrel curls instead. If you use barrel curls, roll the first row down and the second row upwards.


Brushing Out
 
Once completely dry you can start to brush out (I had to brush mine out before it was completely dry as I had a headache, but obviously it's best once dry!).
 
There's not much I can tell you about how to brush out- it's very much trial and error. I was pleasantly surprised at how easy a pin curl set is to brush out- twas lovely!
 
 
One thing I always do though, is to brush out in sections-
the back first and then each of the side sections. Once these are done, I then brush the side sections into the back (if you don't do this you will end up with clumps and you really don't want that!), and lastly, brush the out the top section.
 
Here's two styles which I experimented with- the one on the left was created by brushing downwards from the crown, and I brushed towards the back for the second.


And there you are....
The Finished Set!


I've since had a few inches cut off the length, so I'll no doubt be back again with another curly top post... don't worry, it wont be so long and will have fewer pictures!
 
 
TTFN
 
Tupps xxx
 

Wednesday, 20 June 2012

Quick Curly Top Tupney Style.


Hullo Girls and Boys, Tupney here!

Today’s witterings will almost certainly not be of any interest to the men folk, so if you be a fella  (?) I tells ya look away now and go do some tinkering in the shed, build walls, read a newspaper or fiddle with an engine, as I'm about to talk about hair styling (groan!). You can, of course, stay and have a chuckle at the silly photos, if you like....

***
Well my girlie-wigs, I had my barnet cut on Monday and I decided not set it after the chop like I normally would (shock, horror!). Why? Well I wanted to have a nice curly top ready for the weekend’s happenings, so instead I did a bit of experimental hair twirling- otherwise known as pin curling to normal people!

Thankfully, but also annoyingly I have a lot of hair (My hair dresser says it grows like a bush- haha!) and the mere thought of pin curling my whole noggin fills me with dread, and in my desperation (I absolutely hate my normal hair by the way) I decided to pin curl just the front, then went to Bedfordshire.

Well anyway, I was quite pleased with the results and thought I would share the 'how to' as it takes no time at all, is fairly 40’s-ish and it also might help you out on those ‘cant be bothered days’ too!

 ***

So you will need:

*A head, with hair- preferably a female one with shoulder length or longer hair. I got my fringe cut to my nose, which actually I was a bit worried about as I thought my nose was longer, but thankfully you can still work with a 6 inch fringe!
*A comb and your favourite brush.
*Kirby grips.
*Dinkie curlers  (in the end I used some rollers for the stubborn bits!)

***
Notes: I'm working with bone dry, clean hair. Naturally the results would be a lot crisper and longer lasting if done on towel dried hair, spritzed with setting lotion!

1.
2.

1. Just one to show what I'm working with!
2.Section the back from the front, separating from your ear straight up to your parting on both sides.
4.
3.

 3. Pull back the back and roll upwards...
4. ..and Pin!
Notes: if you want better curls, make the sections smaller, like you would if you were pin curling properly!
6.
5.
5.The finished roll...(hehe nearly crossed eyes in this one!)
6. Start sectioning off the front sides and rolling the pincurls up towards you parting- I made three on each side...
7.
8.
7. At the top make about four or five more pin curls, rolling either towards, or away from you parting depending on if you want a wave or would rather a roll!
8. The finished setting. You may be able to get away without the dinkies.
 Note: I have used dinkies on the very top- adding a couple of extra due to my new very short layers and heavy hair.
***
Now go off, have a shower, go to bed, waste time on the Internet, or if you are like me... get dressed!
In other words leave it for a while!
***

THE BRUSH OUT.

1.
2.
1.Brush all the left hand curls together- brushing up and out and smoothing the ends, then leave for the time being. Do the same on the other side.
2. Start brushing the top, pulling upwards and again, smoothing the ends.
Don't worry, the clown look wont last for long!

3.
4.
3.Brush the very front curls right back, then push back with whichever hand your brush isn't in. This should form the wave.
4. Still with your other hand holding the wave, keep combing and pulling until you get the desired look/ wave, then pin. If you have done this on dry hair you may need some brylcreem to smooth out the frizz!
5.
5.
5. Go back to the side parts and start backcombing- just enough to give you a little 'stay'. If you want more body in the side swishes (That's a technical term!!!) then keep on backcombing!

6.
7.
6. After backcombing keep each side piece in your hand and comb over a finger (not the chocolate variety!) to form an end curl and pin near the curl.
7. Brush out the back (I just kept on brushing downwards. I didn't bother to brush any of the curls back in.) Oh and my whole left arm seems to have disappeared- I was actually brushing if you see the mirror's reflection!


8.
8. With your fingers push down towards your face.
Spray with some hair spray and then admire your new hair-do

Yes I know. I didn't get a very good picture of the end result.... I had quite a nice front wave too- bloomin' typical! My excuse is that I was rushed for time!

So there you have it...
Tuppy's quick curly top!

Cheerio All
Tickety Boo Tupney xxx

Saturday, 28 January 2012


^that’s me trying to be sophisticated!

Well hullo campers! Tupney here, reporting back on her ‘Retro Curls’ trial!
So how did I fare?
To be honest, I actually found it quite a learning curve! I consider myself quite proficient at my usual set- I’ve got the sectioning and curling down to a Tee
(though I have to admit that the said Tee sometimes wobbles!). You see, I’m not used to using a hair dryer and curling tongs. In fact, I can’t even remember the last time I used them!
Anyway, I set forth into the uncharted world of the ‘blow-dry’ and ‘styling products’ and commenced battle with my Barnet.

So, I did what the man said (makes a change) and washed my hair- simple.. I then found a hundred and one other things to do, like trawl the internet, nosey through my knitting patterns, and I even found time to move some of my old tat around in my bedroom (though, do not  for one minute confuse this with tidying up, as I did nothing of the sort- I just added a muddle to another muddle!). Anyhoo , what I'm trying to say, is that I didn’t follow the tutorial straight away, ending with a result of my hair drying, and  turning into something that very much resembled a throw back of the 70’s glam rock era. Ghastly I tell you. The pictures are so shocking (really they are!) I can’t possibly show them on here!

With visions of the wind blowing and making my hideous hair ‘do’ stick for all eternity, I hurried myself back into the bathroom, and flung my head into a basin full of water, so to regain the required towel dried state. Phew!
- excuse the no make up...
I'm showing the pics in b&w to try and make the pictures a little more viewable!
I then wasted no time by brushing and squirting in all the necessary products into my hair.  I even used my Ma’s brush (not sure what it’s called- I only ever use a comb!) and started to brush and blow-dry in the correct directions to create the root volume……well I certainly got volume…. After a quick snap I continued to keep clonking my head with the hairdryer and carried on with the upside down drying!

A horrendous photo- but needs must!
Oh the volume!
With that stage now completed, I dusted off my curling tongs and fired them up. ( I’m hoping at this point my sister will be also humming the tune from Ashes to Ashes- don’t worry, it’s a sister thing! Are you sis?). For me, this bit was fairly easy, though my hand eye coordination could do with a bit work, as the mirror was showing me all the wrong information! A few neck singes later and I’m all pinned up and ready for a slice of stollen and a cuppa!
Hardly pin up material!
I found using the long clippy clips easier to secure the curls...
...no pics of the back as I was huddled in a small space!
An hour later, lets say, as I was in no hurry- I started to un-pin and brush out. And my
was this a doddle. No knots, no nothing! The brush glided from root to tip- it was heavenly, and it certainly makes a change from my usual brush out! A quick spray and voila- bouncy curls!


quite a nice soft wave at the front- strange picture- I blame it on the limited space ;)


ooo lets fling our head back to show the curls!


trying to get a shot of the back nearly put my back out!
So what do you think? It’s quite a bit different to my usual curly top and certainly doesn’t last as long, which in all fairness is to be expected as it’s not a wet set.
I would definitely say the technique worked, and I was pleased with the result. Lotto!
I’m also quite taken with the Frizz- Ease secret agent perfecting crème. I’m a girl that
usually uses brylcreem when my hair is very straw- like, filled with frizz, and needs much taming!
Heres a picture to show such a time!

I found that this worked extremely well, making my hair look and feel more conditioned (now resembling less like a scarecrow) and without feeling sticky or heavy. Quite the little marvel!

Heres the link once again...

Well done John Frieda and team!

All the very best for the weekend
...
Tupney x

Related Posts Plugin for WordPress, Blogger...